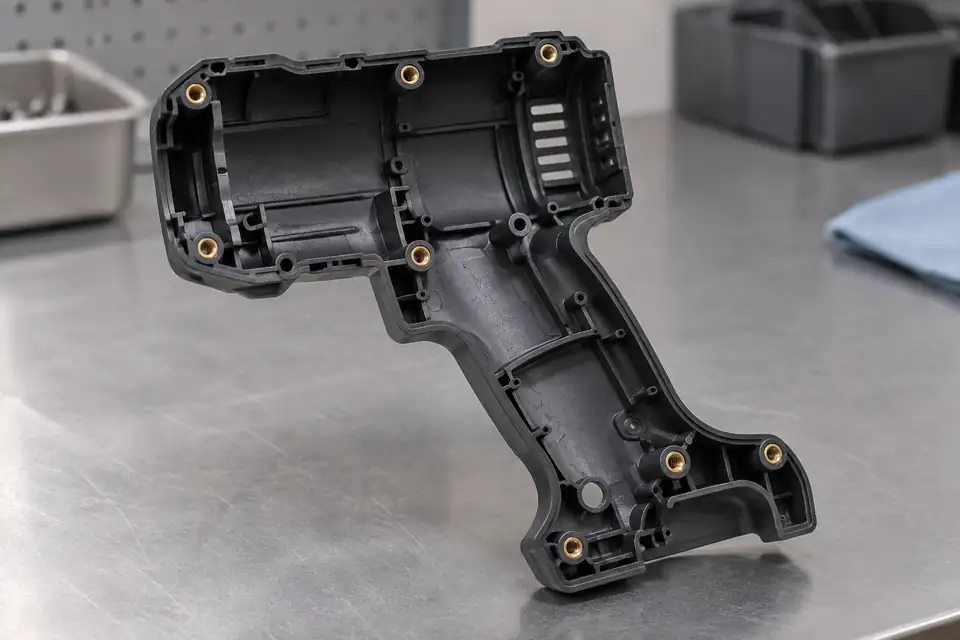
Metal threaded inserts in plastic power-tool housings raise an early design decision: install them with heat after molding, or place them in the mold and overmold them during injection? The route should not be selected from the labels “heat-set insert” or “molded-in insert” alone. First define the joint load, assembly sequence, resin, production volume, automation plan, and cosmetic limits. This guide focuses on thermoplastic power-tool and functional plastic housings; it is not a general guide to terminals, bushings, or thermosets.
1. Define the fastening task before selecting a process
Record the thread specification, tightening torque, axial pull-out requirement, load direction, expected assembly cycles, and consequence of joint failure. A photo and the note “add a brass insert” cannot show whether the joint is used once, serviced repeatedly, or loaded continuously. Mark cosmetic zones, nearby thin walls, screw-entry direction, and available assembly space on the current 3D model.
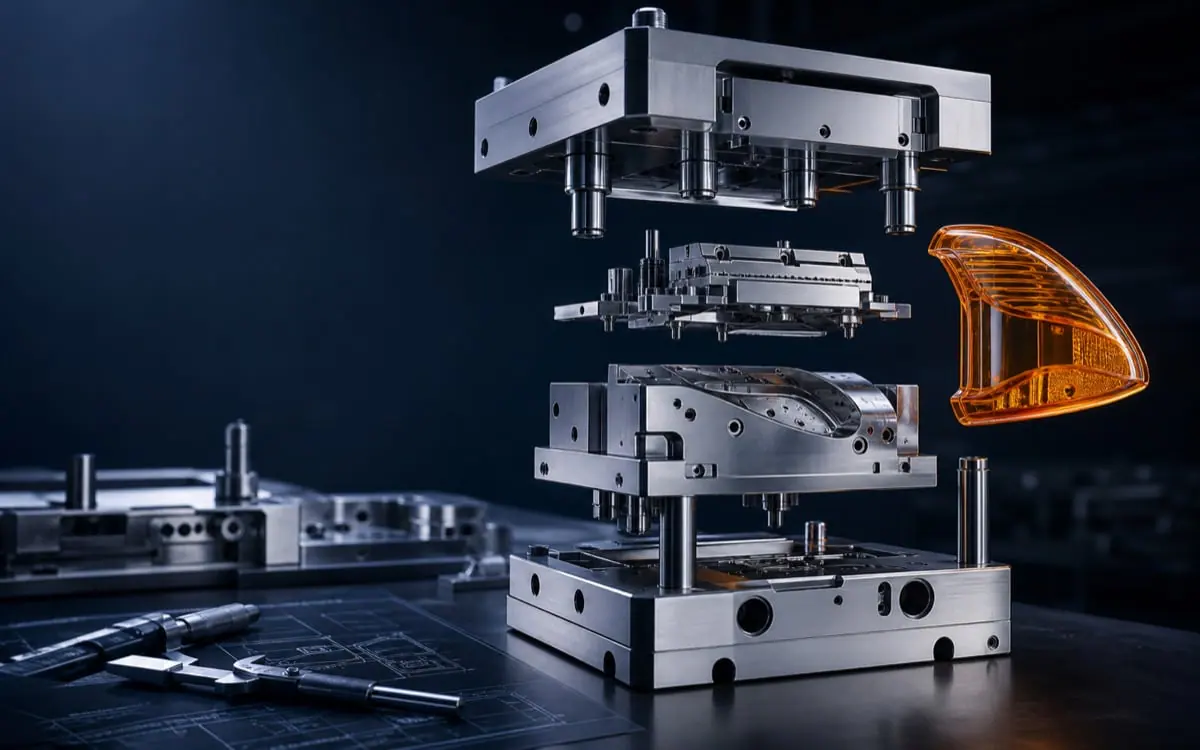
Use the power-tool housing mold page to confirm the product scope, then organize revisions and interfaces with the injection mold design and manufacturing service and the DFM purchasing review checklist. The engineering decision must use the actual insert, resin, and geometry; a supplier example is not a project specification.
2. Review points for post-mold heat installation
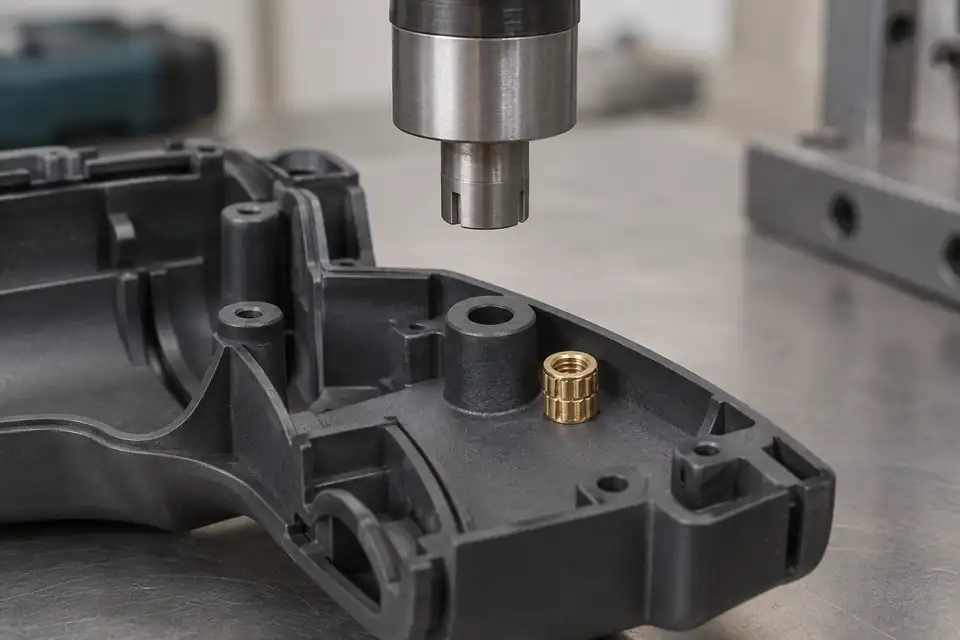
Heat installation is a secondary operation after molding. Heat and ultrasonic inserts are generally intended for post-mold installation in thermoplastics; the SPIROL heat and ultrasonic insert page provides background on this process family. One advantage is that the mold does not need to hold an insert throughout injection. Supplier guidance also notes that post-mold installation can shorten molding time and avoid mold damage or rejects caused by an insert moving inside the mold. That does not prove a lower total cost for every project.
Review the molded hole, insert profile, surrounding material, location method, and the conditions that let softened plastic flow into the insert features. Performance depends on a suitable hole, sufficient surrounding wall, and controlled plastic flow. Use the SPIROL inserts for plastics design guide as general background, then confirm the actual resin, molded hole, and sample joint. Do not lock a universal temperature, dwell time, hole size, or wall thickness into an early quotation.
3. Review points for molded-in insert molding
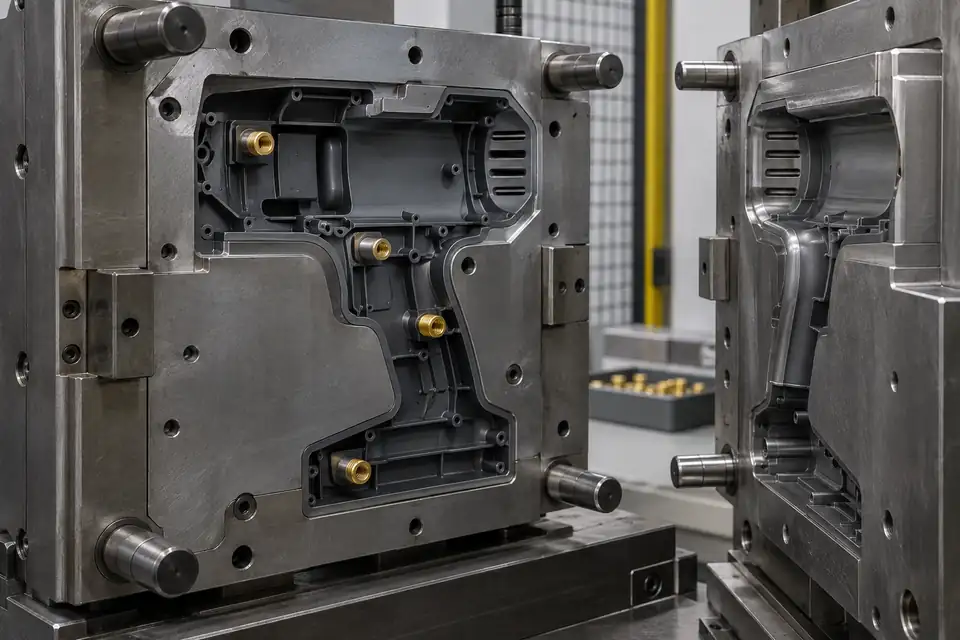
Insert molding locates a preformed metal component in the cavity before injection. Plastic then flows around the external knurls or undercuts to create a mechanical lock. Design guidance describes this route as capable of supporting demanding torque and pull-out targets, but actual performance still depends on the insert, resin, geometry, and molding process. Protolabs likewise describes insert molding as loading a metal component into the mold and overmolding it with thermoplastic.
Put insert location, retention against movement, overmold coverage, resin flow, molding cycle, tooling complexity, and loading method on one risk sheet. In a compact housing, near a cosmetic surface, or with several inserts, a location error can affect assembly and increase scrap. Glass fiber or a high filler level does not select the route by itself. Supplier guidance says molded-in inserts are often considered for thermosets and highly filled engineering plastics, but that is not an automatic material rule.
4. Compare both routes on the same quotation basis
Compare the routes against the same questions instead of looking only at the insert price.
| Review item | Post-mold heat installation | Molded-in insert molding |
|---|---|---|
| Performance target | Validate the hole, surrounding wall, and installation method together | Validate location, overmold coverage, and molding conditions together |
| Tooling and operations | Less insert-positioning work in the mold, but a secondary operation remains | Requires location, anti-movement, and loading review in the mold |
| Volume and automation | Assess secondary equipment, cycle time, and missed-insert risk | Assess insert loading, detection, and molding cycle |
| Quality and scrap | Watch installation consistency, wrong inserts, and missing inserts | Watch insert movement, incomplete coverage, and mold risk |
| Cost basis | Do not compare only insert or equipment price | Do not compare only molding cycle time |
The Protolabs threaded insert overview treats insert molding, heat staking, and ultrasonic installation as different routes, with heat staking and ultrasonic installation using different ways to generate heat. A quotation should include tooling, secondary equipment, automation, inspection, scrap impact, and supply-chain handling. “Molding cycle time” is not the same as “total manufacturing cost.”
5. Convert the choice into verifiable engineering requirements
Whichever route is preferred initially, write sample validation as conditional requirements. Under project-defined conditions, check pull-out, torque resistance, assembly, appearance, and any required repeated fastening. Record the resin and filler, insert revision, hole or locating feature, installation method, equipment state, and test conditions. A conclusion should trace to a specific configuration rather than merely saying “stronger” or “cheaper.”
Before quotation, provide the 3D model, resin and filler information, thread and insert specification, joint load, fastening cycles, expected volume, cosmetic zones, and automation requirements. See the injection molding service for sample and process discussions and custom plastic molds for the product boundary. To start a review, submit the project drawings. This article does not promise a fixed strength, zero scrap, a particular cost, or a customer-project result.
Frequently asked questions
Is a heat-set insert always cheaper than a molded-in insert?
No. Compare tooling, cycle time, secondary equipment, automation, missing or incorrect inserts, scrap impact, and inspection together. Insert price or molding price alone is not the total cost.
Is a molded-in insert always stronger?
No. Plastic flowing around the insert features can create a strong mechanical lock, but the result still depends on the material, geometry, insert location, and molding conditions. Validate the actual project configuration.
Which route should be used with glass-filled resin?
Do not decide from “glass filled” alone. Review the resin grade, filler level, insert profile, load case, and process compatibility together.
Can a heat-install hole be copied directly from a supplier table?
No. Supplier data is a starting point. The actual resin, molded hole, surrounding wall, installation method, and validation conditions may differ and must be confirmed with project samples.
When should a headed insert be considered?
A head may be considered when the joint needs a larger bearing surface or resistance to push-out or pull-through. It also uses material and space and can add cost, so it should not be the default.
What is the minimum information needed before quotation?
Provide the 3D model, resin and filler, thread and insert specifications, joint loads, fastening cycles, expected volume, cosmetic zones, and automation requirements. With incomplete inputs, only a conditional route recommendation is possible.